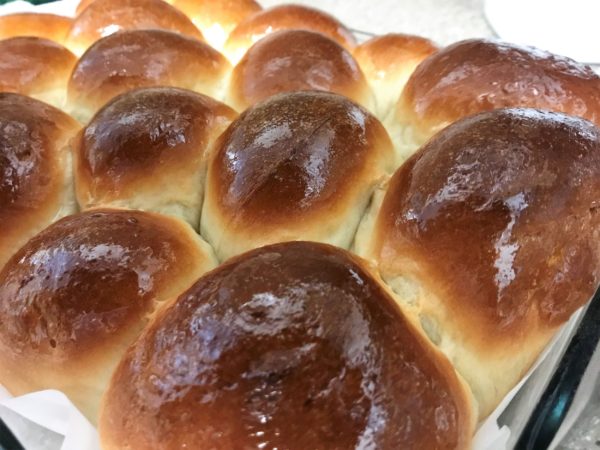
I am excited to announce that I have finally found my go to mabhanzi recipe. First, this is not my recipe. I found it on YouTube from Cooking with Mi sometime last year and absolutely fell in love. Of course, I tweaked it a little to make it into the popular Zimbabwean version.
I’ve tried the tang Zhong method before, but it doesn’t come close. I think the secret is in steps 6 and 8. The constant rolling and folding of the dough produces a light, airy texture. If you’ve ever attempted to make puff pastry, it’s the exact same concept. It’s a pretty tedious process but it’s well worth it. Come to think of it, combining the tang Zhong method with this one could be something worth trying.
I use my stand mixer with a dough hook to make these mabhanzi and that makes it a whole lot easier and faster. Kneading by hand produces the exact same results and of course an added benefit of some well developed forearm muscles, so it’s a win win for everybody LOL.
Also using bread flour instead of all purpose helps you get a more airy, chewy bun.
Tip: To produce a warm humid atmosphere for the dough to rise in. About 20 minutes before your dough is ready to rise, heat your oven to say 150F/65C or 200F/90F for 10 minutes then switch it off. Also place a heat safe bowel full of boiling water beside your rising dough in the oven. This keeps the environment around your dough nice and humid.
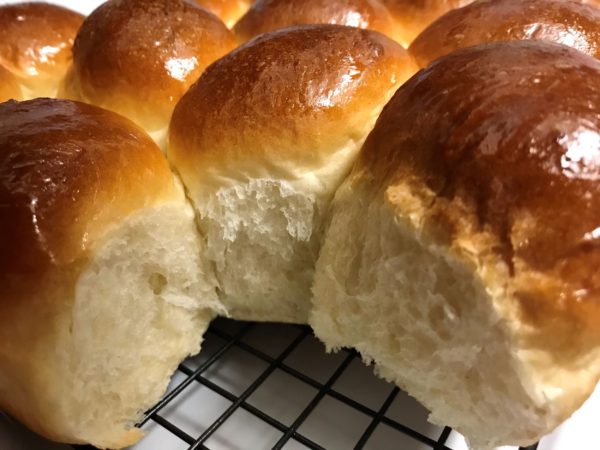
Be sure to eat these light and fluffy mabhanzi, warm, with an ice cold bottle (not can) of Kokora(Coke!) because, well, that’s the only way to do it.
If you miss Zimbabwean food or you just love baking, this is definitely a must try. Let me know if you do. Enjoy!
Ingredients
|
|
- Add yeast and 1 tbsp of the sugar to lukewarm milk. Mix well and place in a warm place. Proof for 6 minutes.
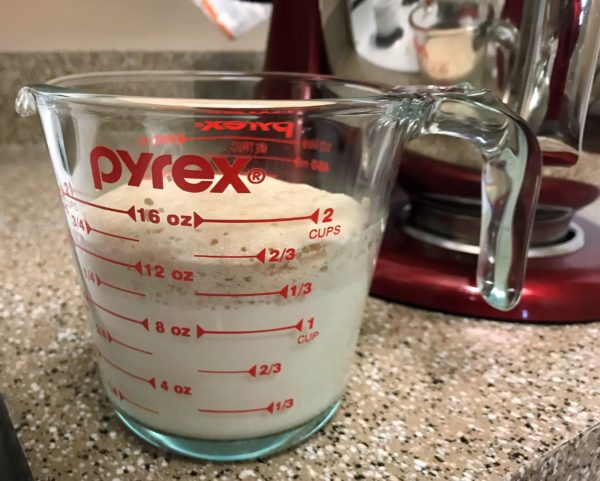
- When yeast has proofed well pour into the stand mixer bowl. Crack the egg into the bowl. Add the rest of the sugar and whisk everything together.
- Add about 2 cups of the bread flour, the salt and milk powder to the mixture. Attach dough hook to your stand mixer and start off mixing on low.
- When the dough starts coming together add more flour about ½ cup at a time. Your dough should still be sticky after adding the rest of the flour. Add more flour if too sticky. Be careful not to add too much. Your dough should not be hard.
- Now add your softened butter. Increase speed to 2 or 3 and beat for 10-15 minutes more until the dough begins to pull away from sides of the bowl. Let it run for a couple minutes more and after that your dough is ready. If you are kneading using your hands, after adding butter, the dough will get very gooey and messy. Cover it and let it rest for about 15 minutes. After that it will be in a much better state to continue kneading. Your dough should be soft and slightly sticky. Transfer to a well-oiled bowl, cover and place it in a very warm place to rise for an hour.
- After the dough has risen, deflate it to get rid of the air bubbles. Transfer it on to a lightly floured surface, roll it into a rectangle. Doesn’t have to be perfect. Fold it three times as in the picture below. Roll again into a rectangle and fold again. Repeat this step 6 times. After a while when the gluten forms, it might become very difficult to roll. Let the dough rest for about 15-20 minutes before continuing to roll and fold.
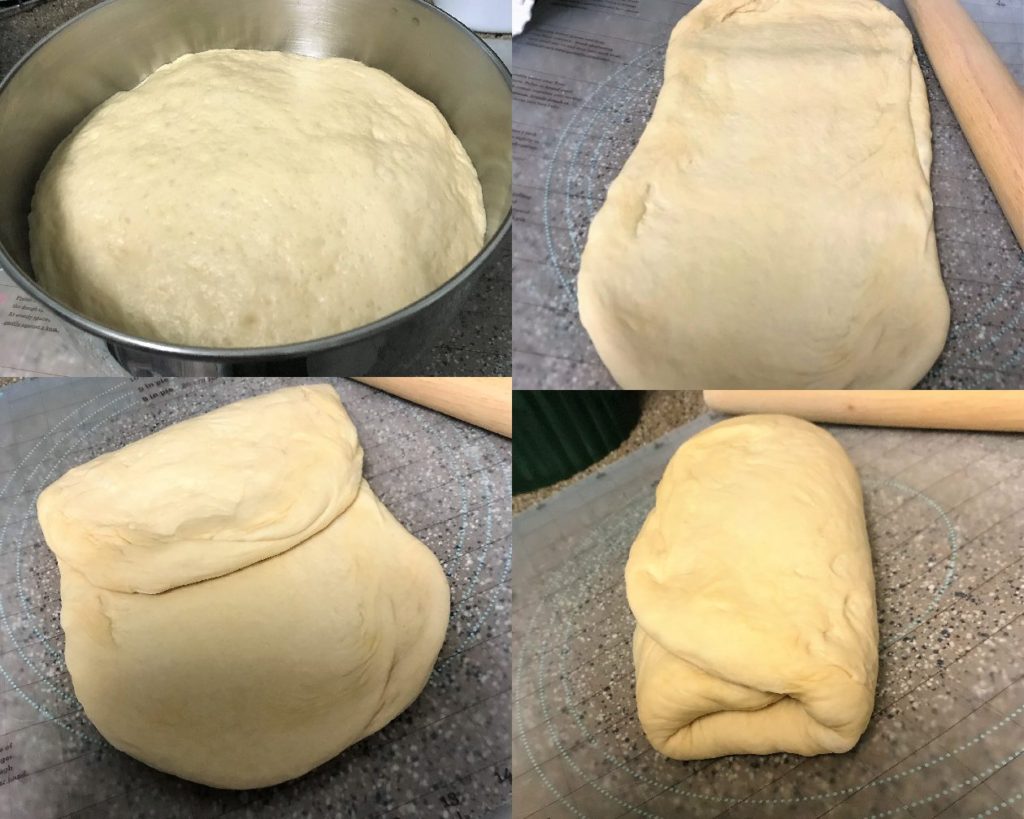
- After folding the dough, a total of 6 times, cut it into 16-18 roughly equal pieces.
- Flatten each dough piece using a rolling pin. Roll it into a cylindrical shape using the tips of your fingers. Pinch the ends together and using the palm of your hand, and a little pressure, roll it into a smooth ball. Picture below. Repeat until you have 16-18 smooth dough balls. Do not skip steps 6 and 8 as this contributes greatly to the light and fluffy texture.
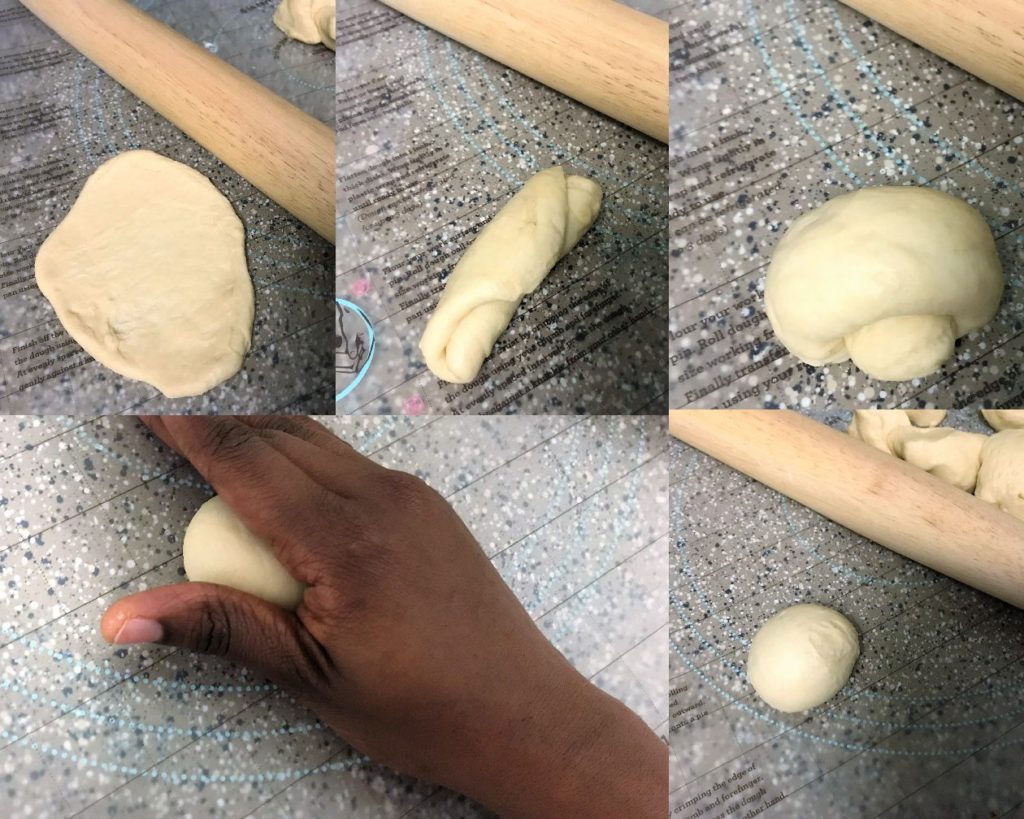
- Place them into a rectangular baking dish lined with parchment paper or greased really well with butter. Cover and place in a very warm place for an hour to rise a second time.
- After one hour, preheat your oven to 350F or 180C. Bake for 20-25 minutes. While the mabhanzi are baking, prepare the glaze by dissolving the sugar in the boiling water.
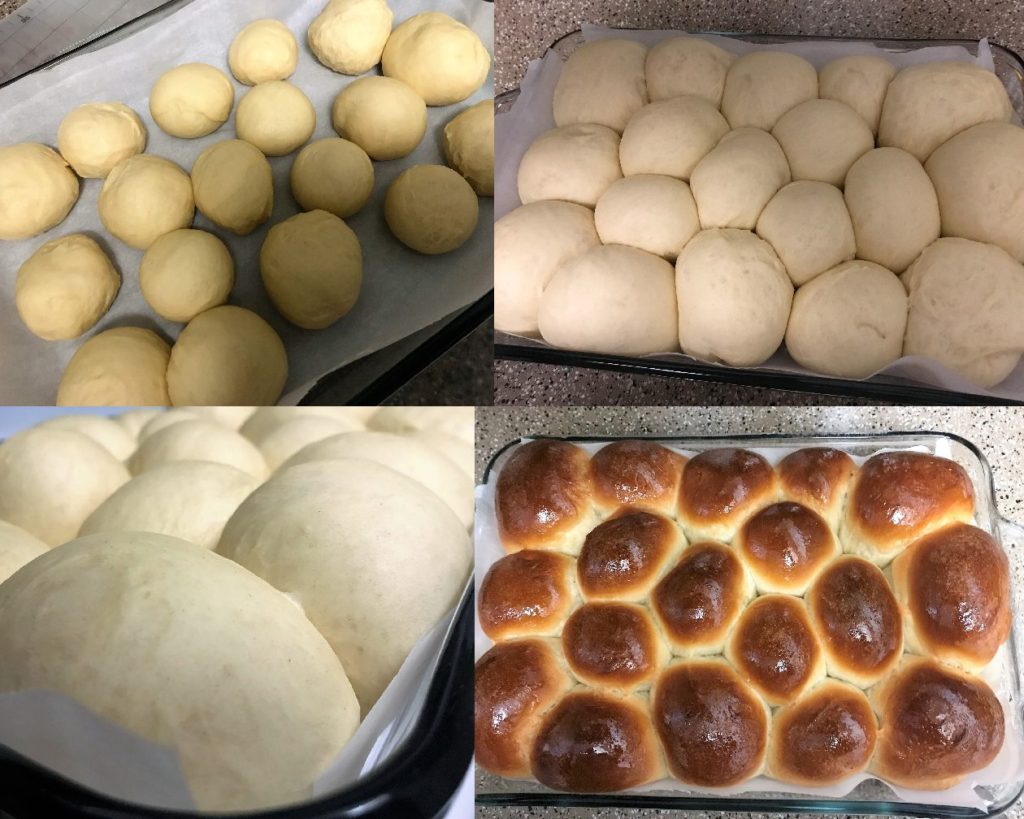
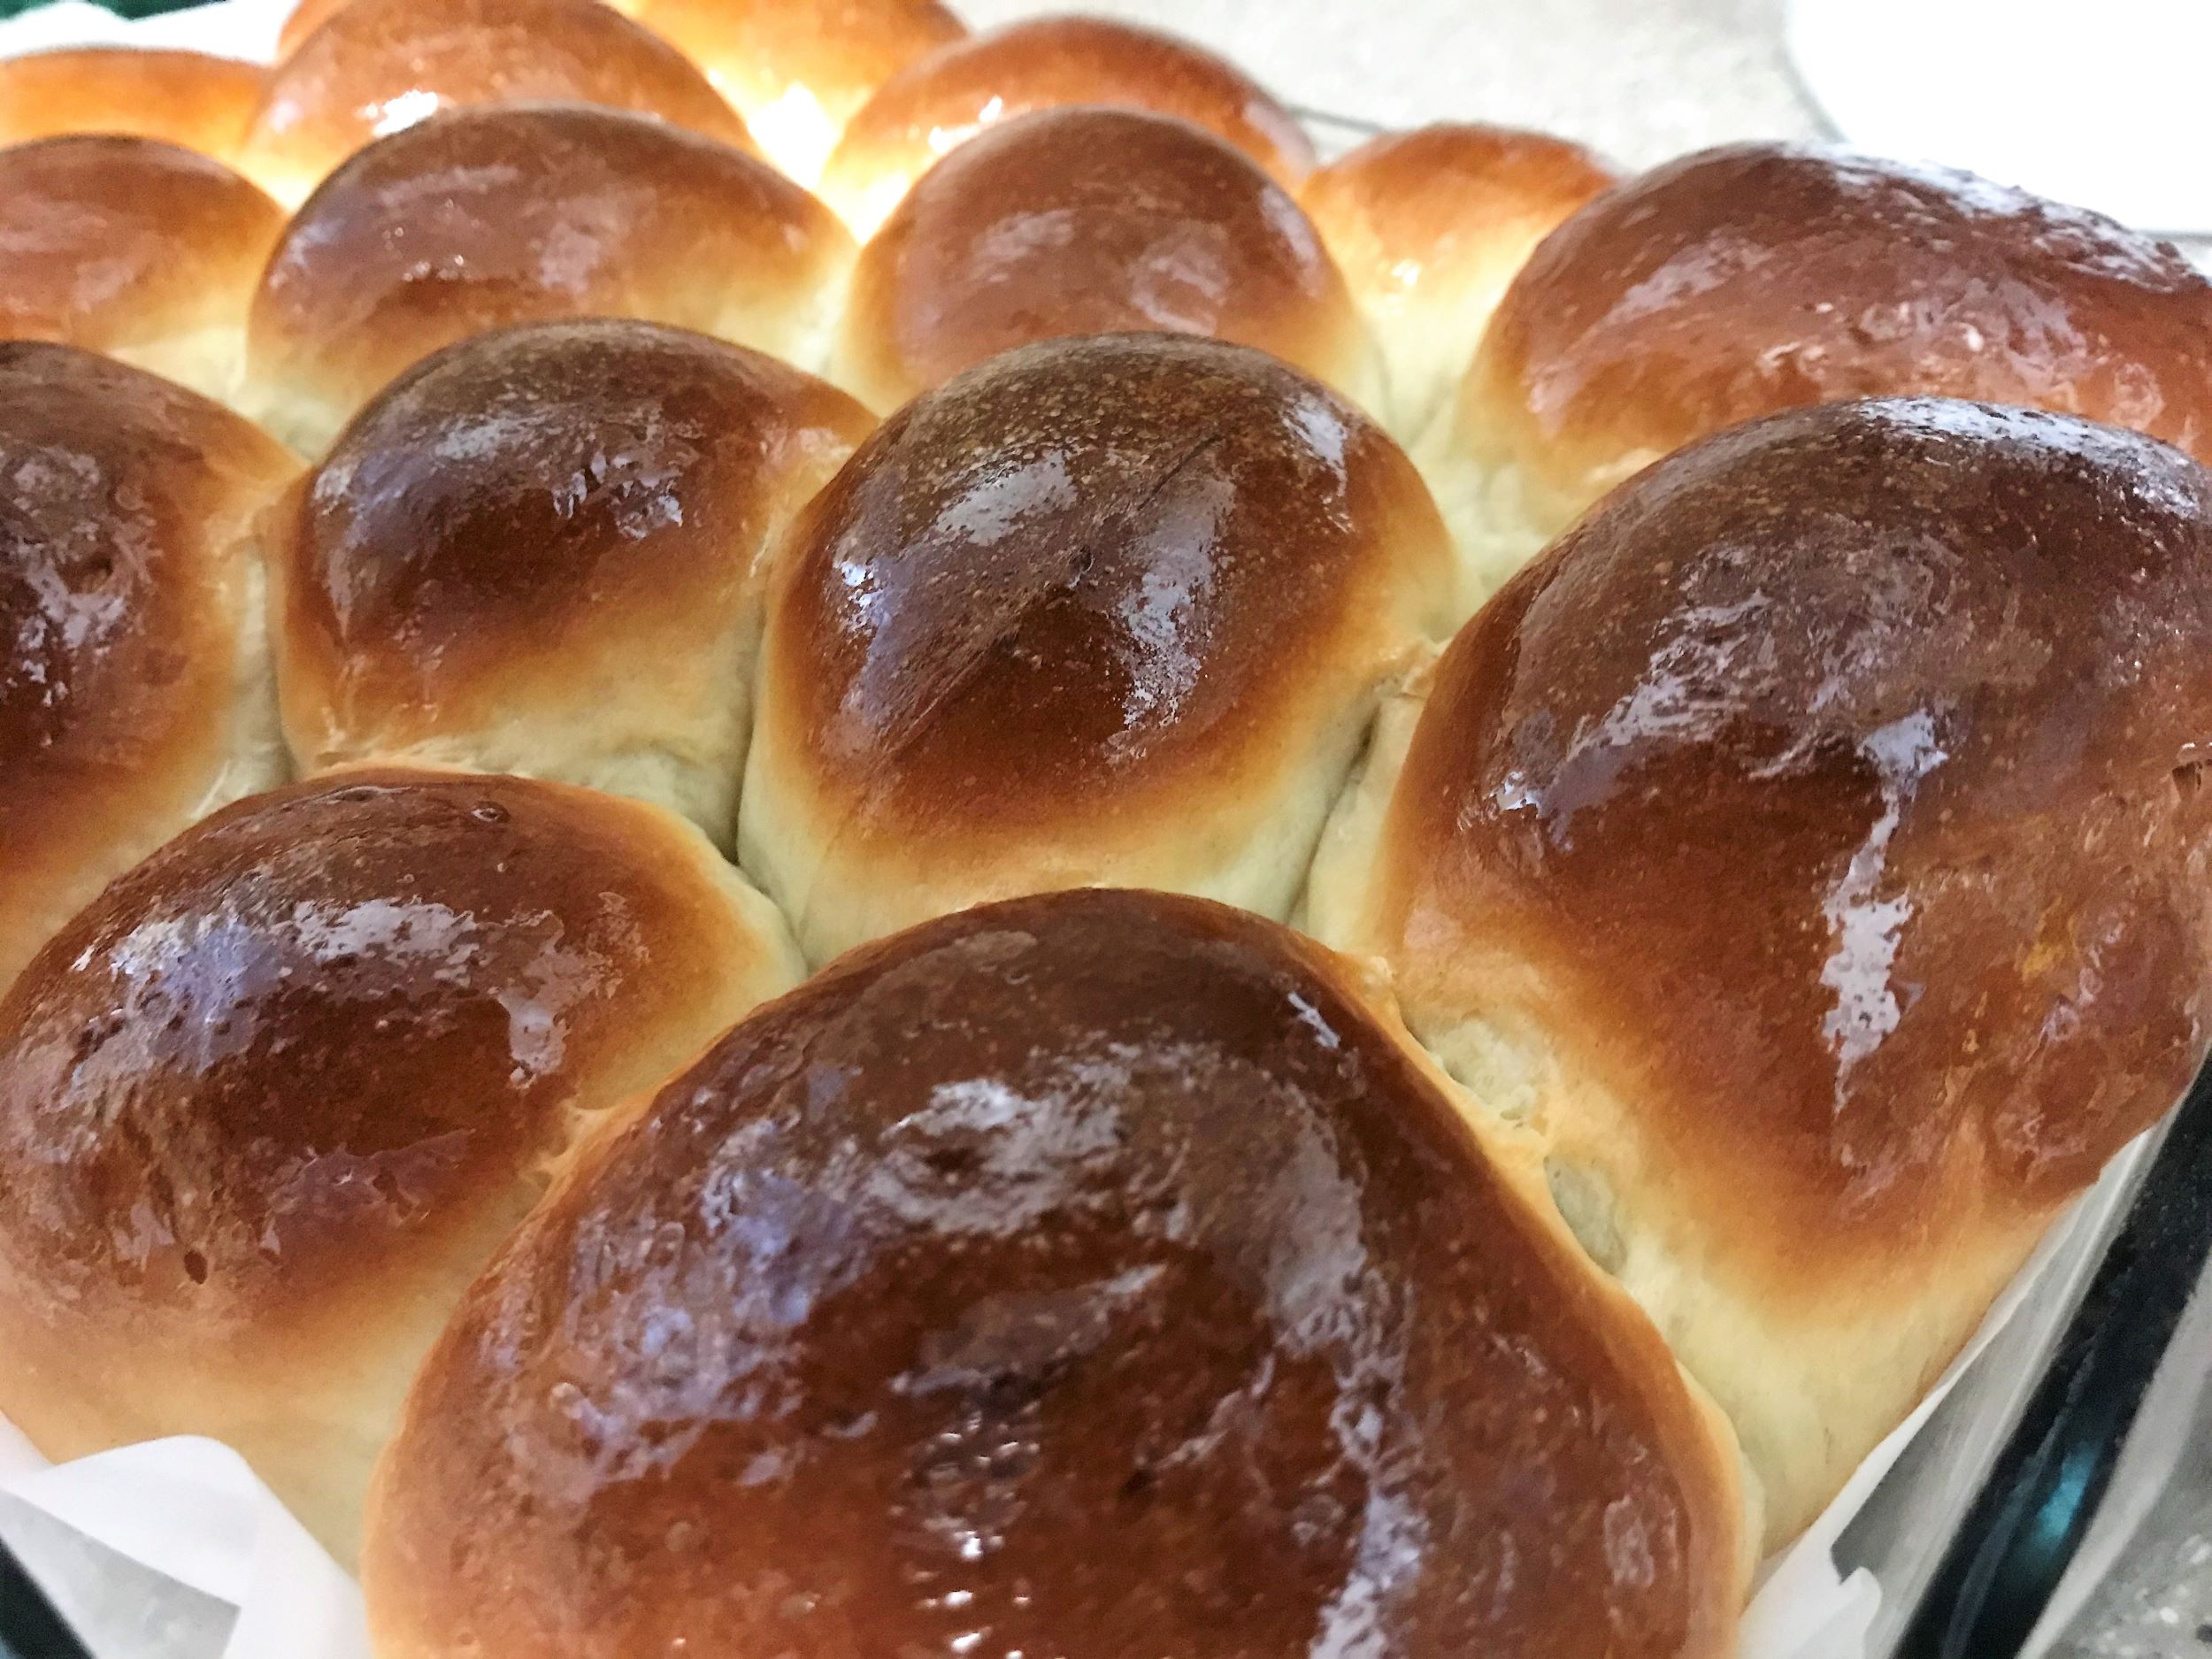
- The mabhanzi should be golden brown. As soon as they get out the oven, brush them with the glaze. Oh, if and only if you can, wait a few minutes before you dig in.
|
|

ID LAV TO TRY WILL GET BACK TO YOU WITH THE RESULTS
That’s great Thelma. Do let me know how they turn out.
love this recipe, trying it tomorrow!
Hi Tinashe! Let me know how it goes 🙂
Thank u for the recipe… the results are awesome
I’m so happy to hear that Shamiso. Thanks for trying it out 😊
This receipe is so easy to follow, thank you for taking your time to explain every step.
A must try receipe!!
Thank you Rumbi! I love to hear such feedback ❤
waaal love it. will definately try them. what if i use self raising flour?
Self raising flour also works but bread flour will make the mabhanzi lighter and fluffier.