
Brining is a great way to get a moist, flavorful and tender roast chicken. If you are not familiar with the process it basically involves marinating the bird in a salty solution. Its a popular way of getting a moist and tender roast turkey. Pork chops can be brined too! I find that just seasoning the outside of the chicken gives a well-seasoned bird on the outside but it tends to be dry and bland on the inside. The downside to brining is, it does take a while, up to 24 hours, sometimes even longer. So if you’re planning to make it for dinner, you have to start the brining process up to a day before.
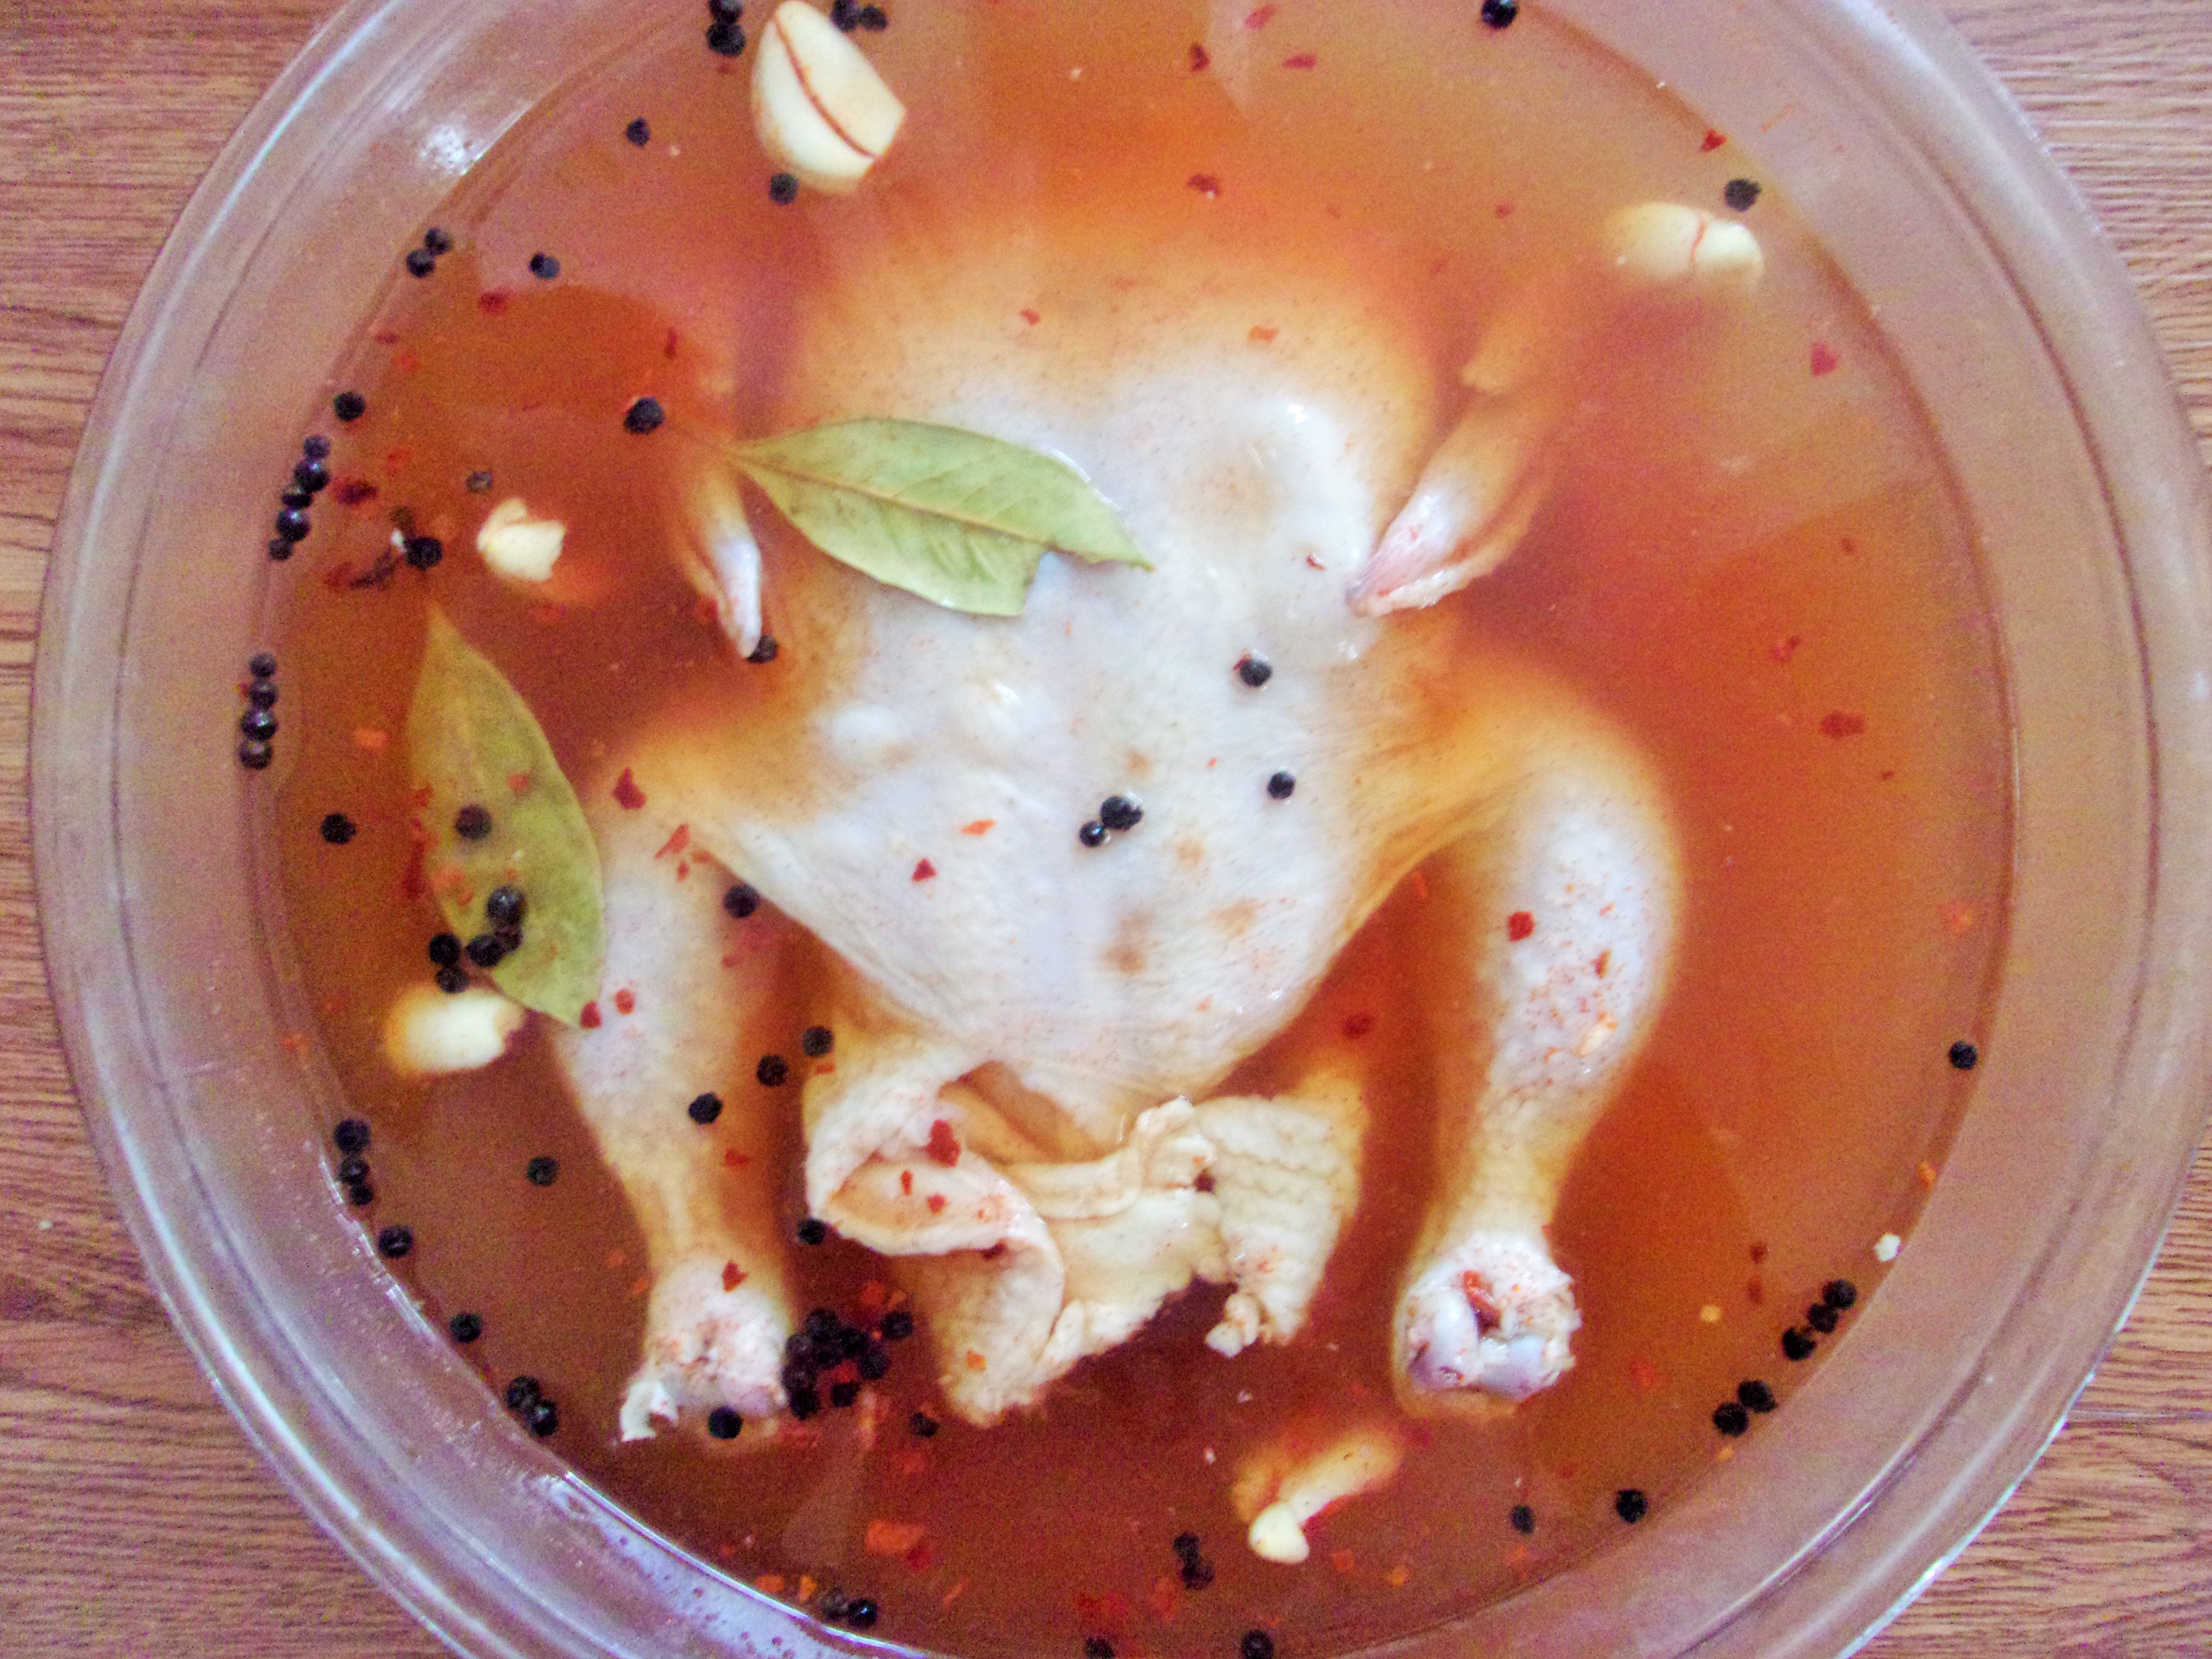
You can also add various spices and herbs to the solution to make the chicken more flavorful. I don’t add a lot of flavors to the brine, just garlic, peppercorns, lemon juice and a couple of bay leaves. I just don’t want anything to overpower chicken flavor. And to get the most of the flavors, I first mix them in boiling water. Then afterwards I add lots of cold water. Make sure brine solution is cold before you add the chicken. The chicken should be completely covered by the water. If not, you can turn it over, halfway through the process.
I brine mine for anywhere between 12-24 hours. And before roasting, it should be completely dry so that you get the skin nice and crispy!
You’ll need,
1 whole chicken ( I used a 4 ½ pound chicken)
2 tbsp. melted butter
1 tsp. paprika
½ tsp. ground black pepper
For the brine,
3 tbsp. sea salt
3 tbsp. brown sugar
5 garlic cloves crushed
1 tbsp. black peppercorns
1 tbsp. paprika
Juice of 1 medium sized lemon
2 bay leaves
10 cups of water ( 2 cups boiled and the rest cold )
1. Prepare the brine. In a large deep bowl add the salt, sugar, garlic, peppercorns, paprika, lemon juice and the bay leaves. Add the boiling water and mix thoroughly to dissolve the sugar and salt and to release the flavors of the herbs and spices. Let this mixture stand for about 5 minutes. Add the rest of the water and mix again. Make sure the brine is cold before you add the chicken.
2. Add the chicken to the brine so that it’s completely immersed in it. Cover and refrigerate for up to a day.
3. Remove the chicken from the brine and pat dry it with paper towel until completely dry. You can also return it to the refrigerator uncovered on a baking rack for about 4 hours. This process also allows it to lose some of that extra moisture. It’s very important that the chicken is dry as this makes the skin crispy.
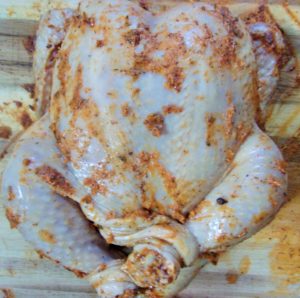
4. Preheat oven to 425 degrees F/ 220 degrees C. Remove the chicken from refrigerator and pat dry again. Mix the butter, paprika and black pepper and rub it all over the chicken.

5. Add a little olive oil to your skillet/pan. Transfer the chicken to the skillet, back side down. Tuck the wing tips under the chicken. Tie the chicken legs together with kitchen string or if you do not have kitchen string, you can make slits in the extra skin at the bottom of the chicken, just above the tail, then you tuck the chicken legs into the slit on the opposite side. This ensures that the chicken cooks evenly.

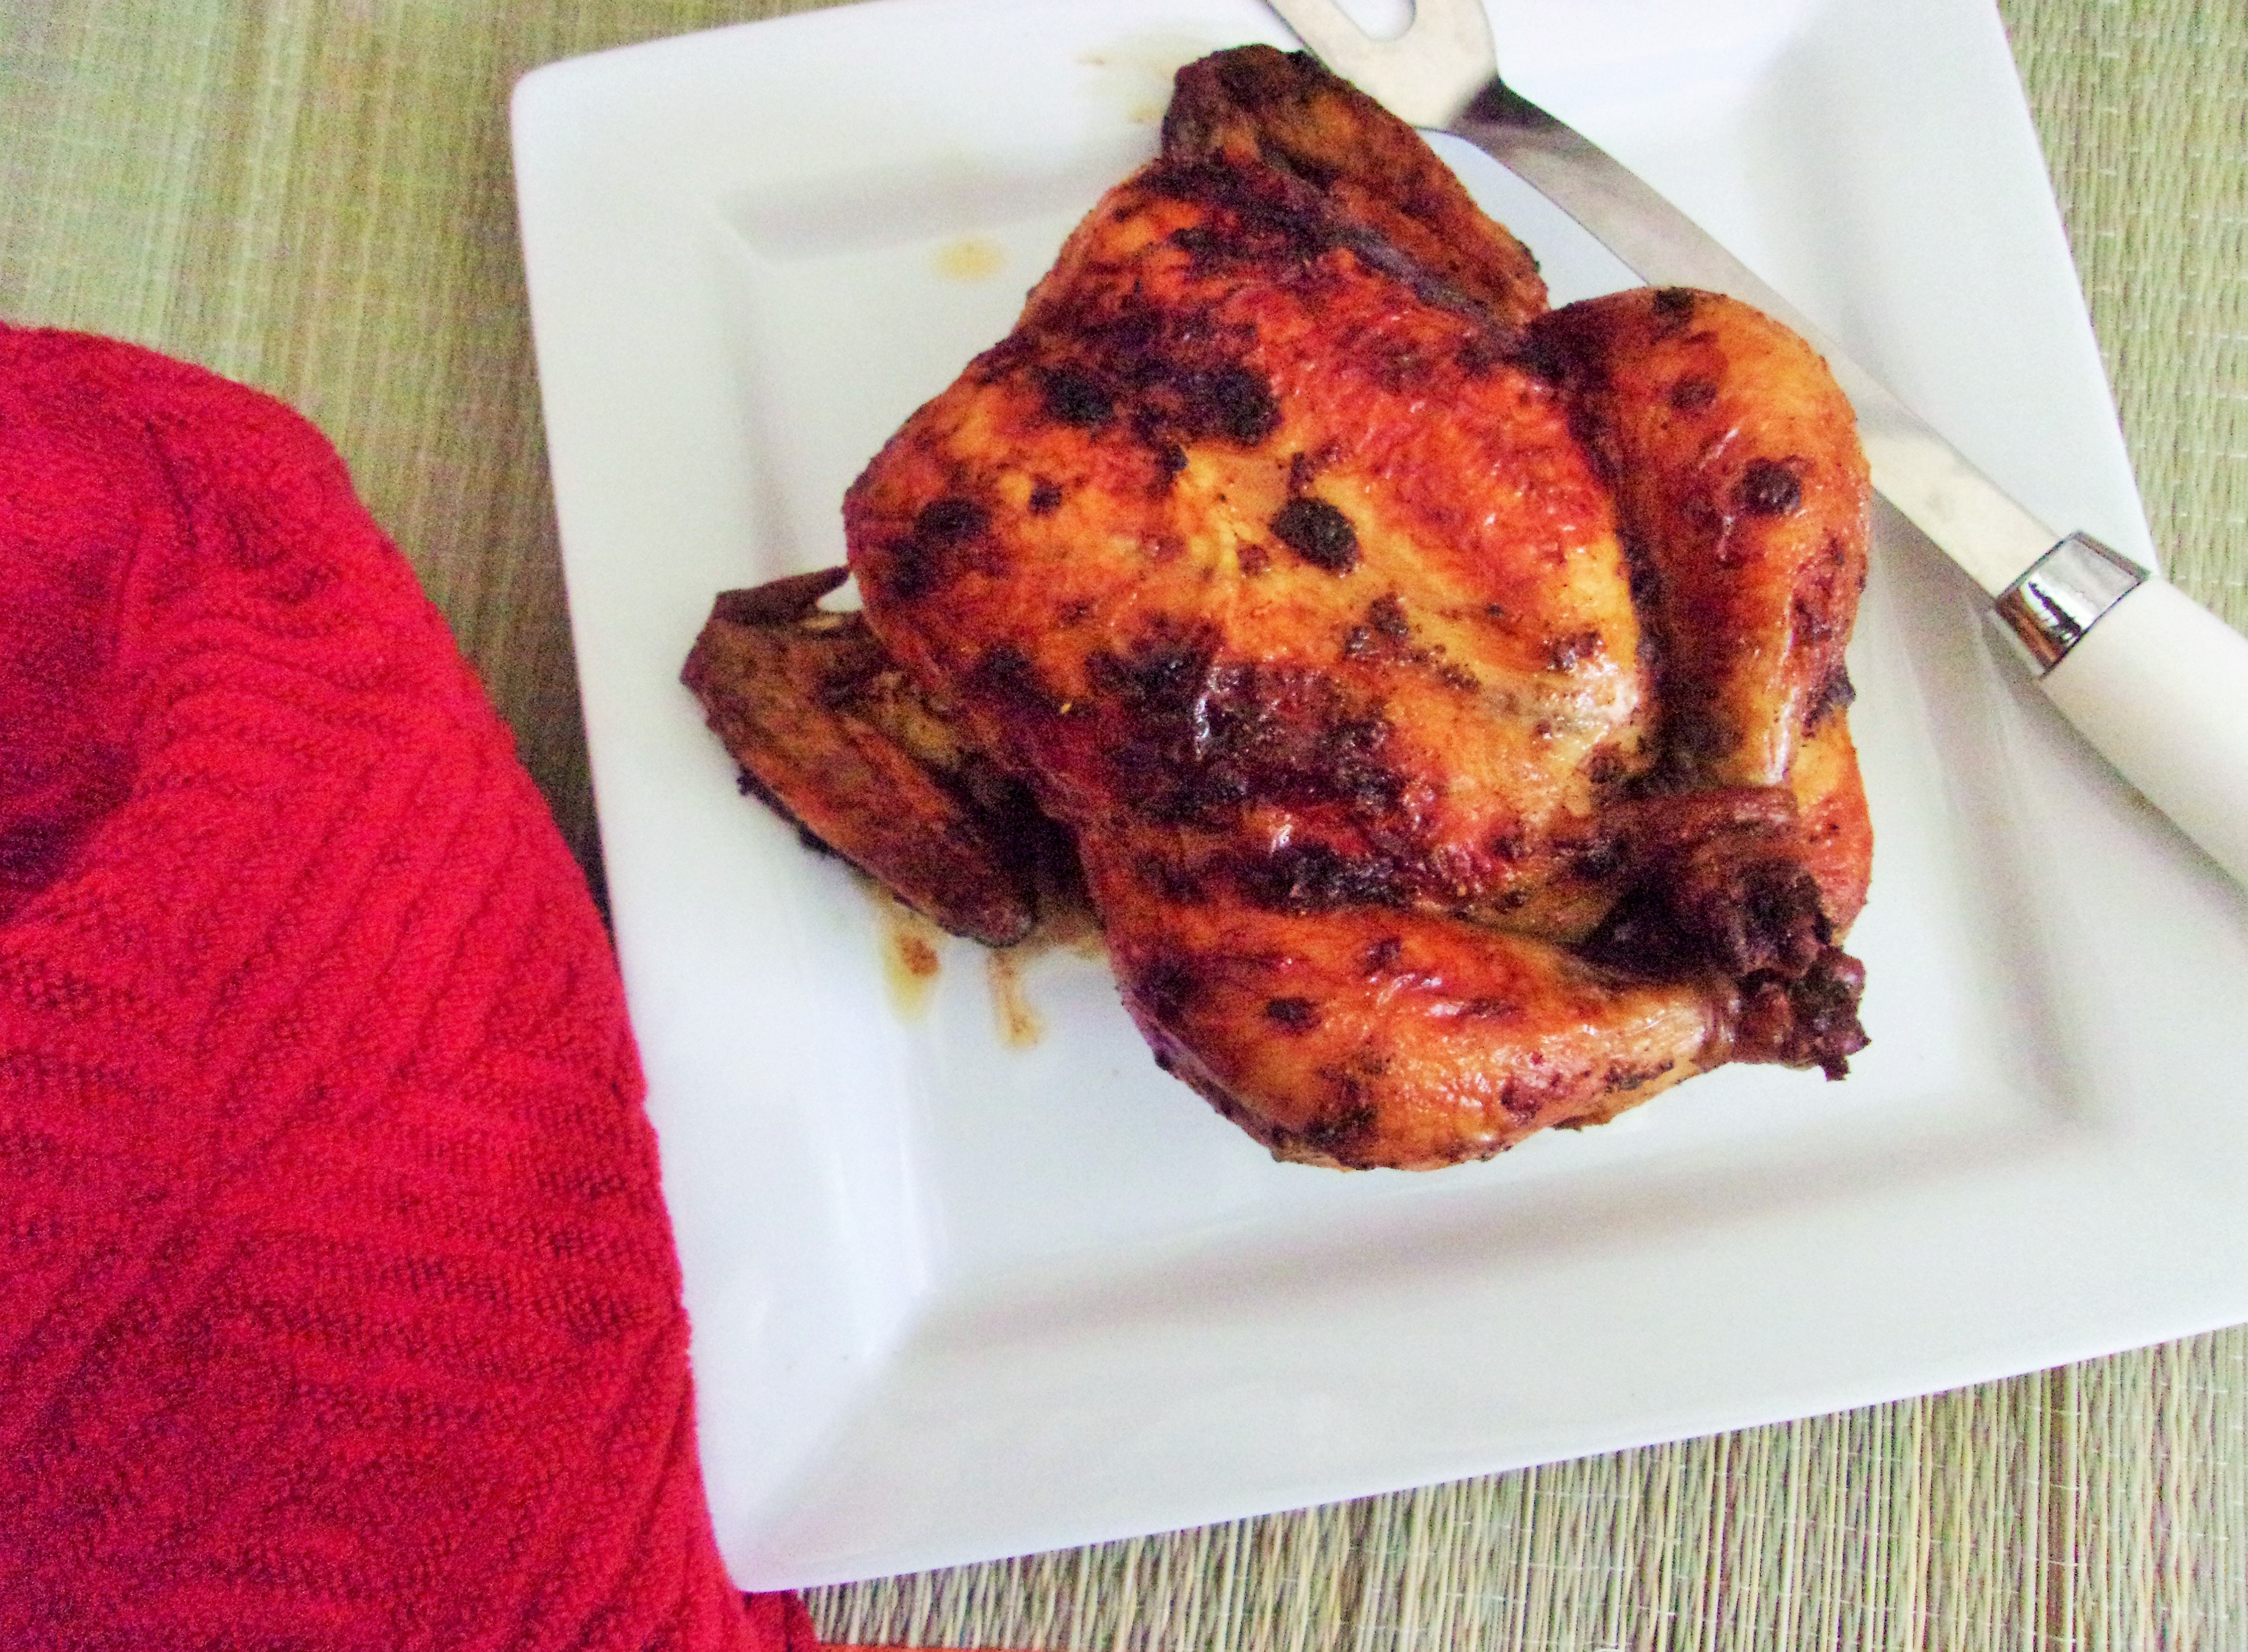
6. Bake for 35 minutes at 425 degrees F/220 degrees C, then reduce heat to 375 degrees F/190 degrees C and bake for another 35 minutes or until the chicken is a nice golden color. I used a small chicken of about 5 lbs/2.2kg. The larger the chicken, the more time it will need to cook through.
Let the chicken rest for 10-15 minutes before carving. Enjoy!
Ingredients
- 1 whole chicken ( I used a 4 ½ pound chicken)
- 2 tbsp. melted butter
- 1 tsp. paprika
- ½ tsp. ground black pepper
-
For the brine,
- 3 tbsp. sea salt
- 3 tbsp. brown sugar
- 5 garlic cloves crushed
- 1 tbsp. black peppercorns
- 1 tbsp. paprika
- Juice of 1 medium sized lemon
- 2 bay leaves
- 10 cups of water ( 2 cups boiled and the rest cold )
Instructions
- Prepare the brine. In a large deep bowl add the salt, sugar, garlic, peppercorns, paprika, lemon juice and the bay leaves. Add the boiling water and mix thoroughly to dissolve the sugar and salt and to release the flavors of the herbs and spices. Add the rest of the water and mix again. Make sure the brine is cold before you add the chicken.
- Add the chicken to the brine so that it’s completely immersed in it. Cover and refrigerate for up to a day.
- Remove the chicken from the brine and pat dry it with paper towel until completely dry. You can also return it to the refrigerator uncovered on a baking rack for about 4 hours. This process also allows it to lose some of that extra moisture. It’s very important that the chicken is dry as this makes the skin crispy.
- Preheat oven to 425 degrees F/ 220 degrees C. Preheat your cast iron skillet in the oven for about 10 minutes. Remove the chicken from refrigerator and pat dry again. Mix the butter,paprika and black pepper and rub it all over the chicken.
- Spray the cast iron skillet with non-stick spray. Transfer the chicken to the preheated skillet, back side down. Tuck the wing tips under the chicken. Tie the chicken legs together with kitchen string or if you do not have kitchen string, you can make slits in the extra skin at the bottom of the chicken, just above the tail, then you tuck the chicken legs into the slit on the opposite side. This ensures that the chicken cooks evenly.
- Bake for 35 minutes at 425 degrees F, then reduce heat to 375 degrees F/190 degrees C and bake for 35 minutes.Let the chicken rest for 10-15 minutes before carving. Enjoy!
0.1
https://www.thevimbayidiaries.com/brined-roasted-chicken/ 




Pingback: Easy Roasted Chicken