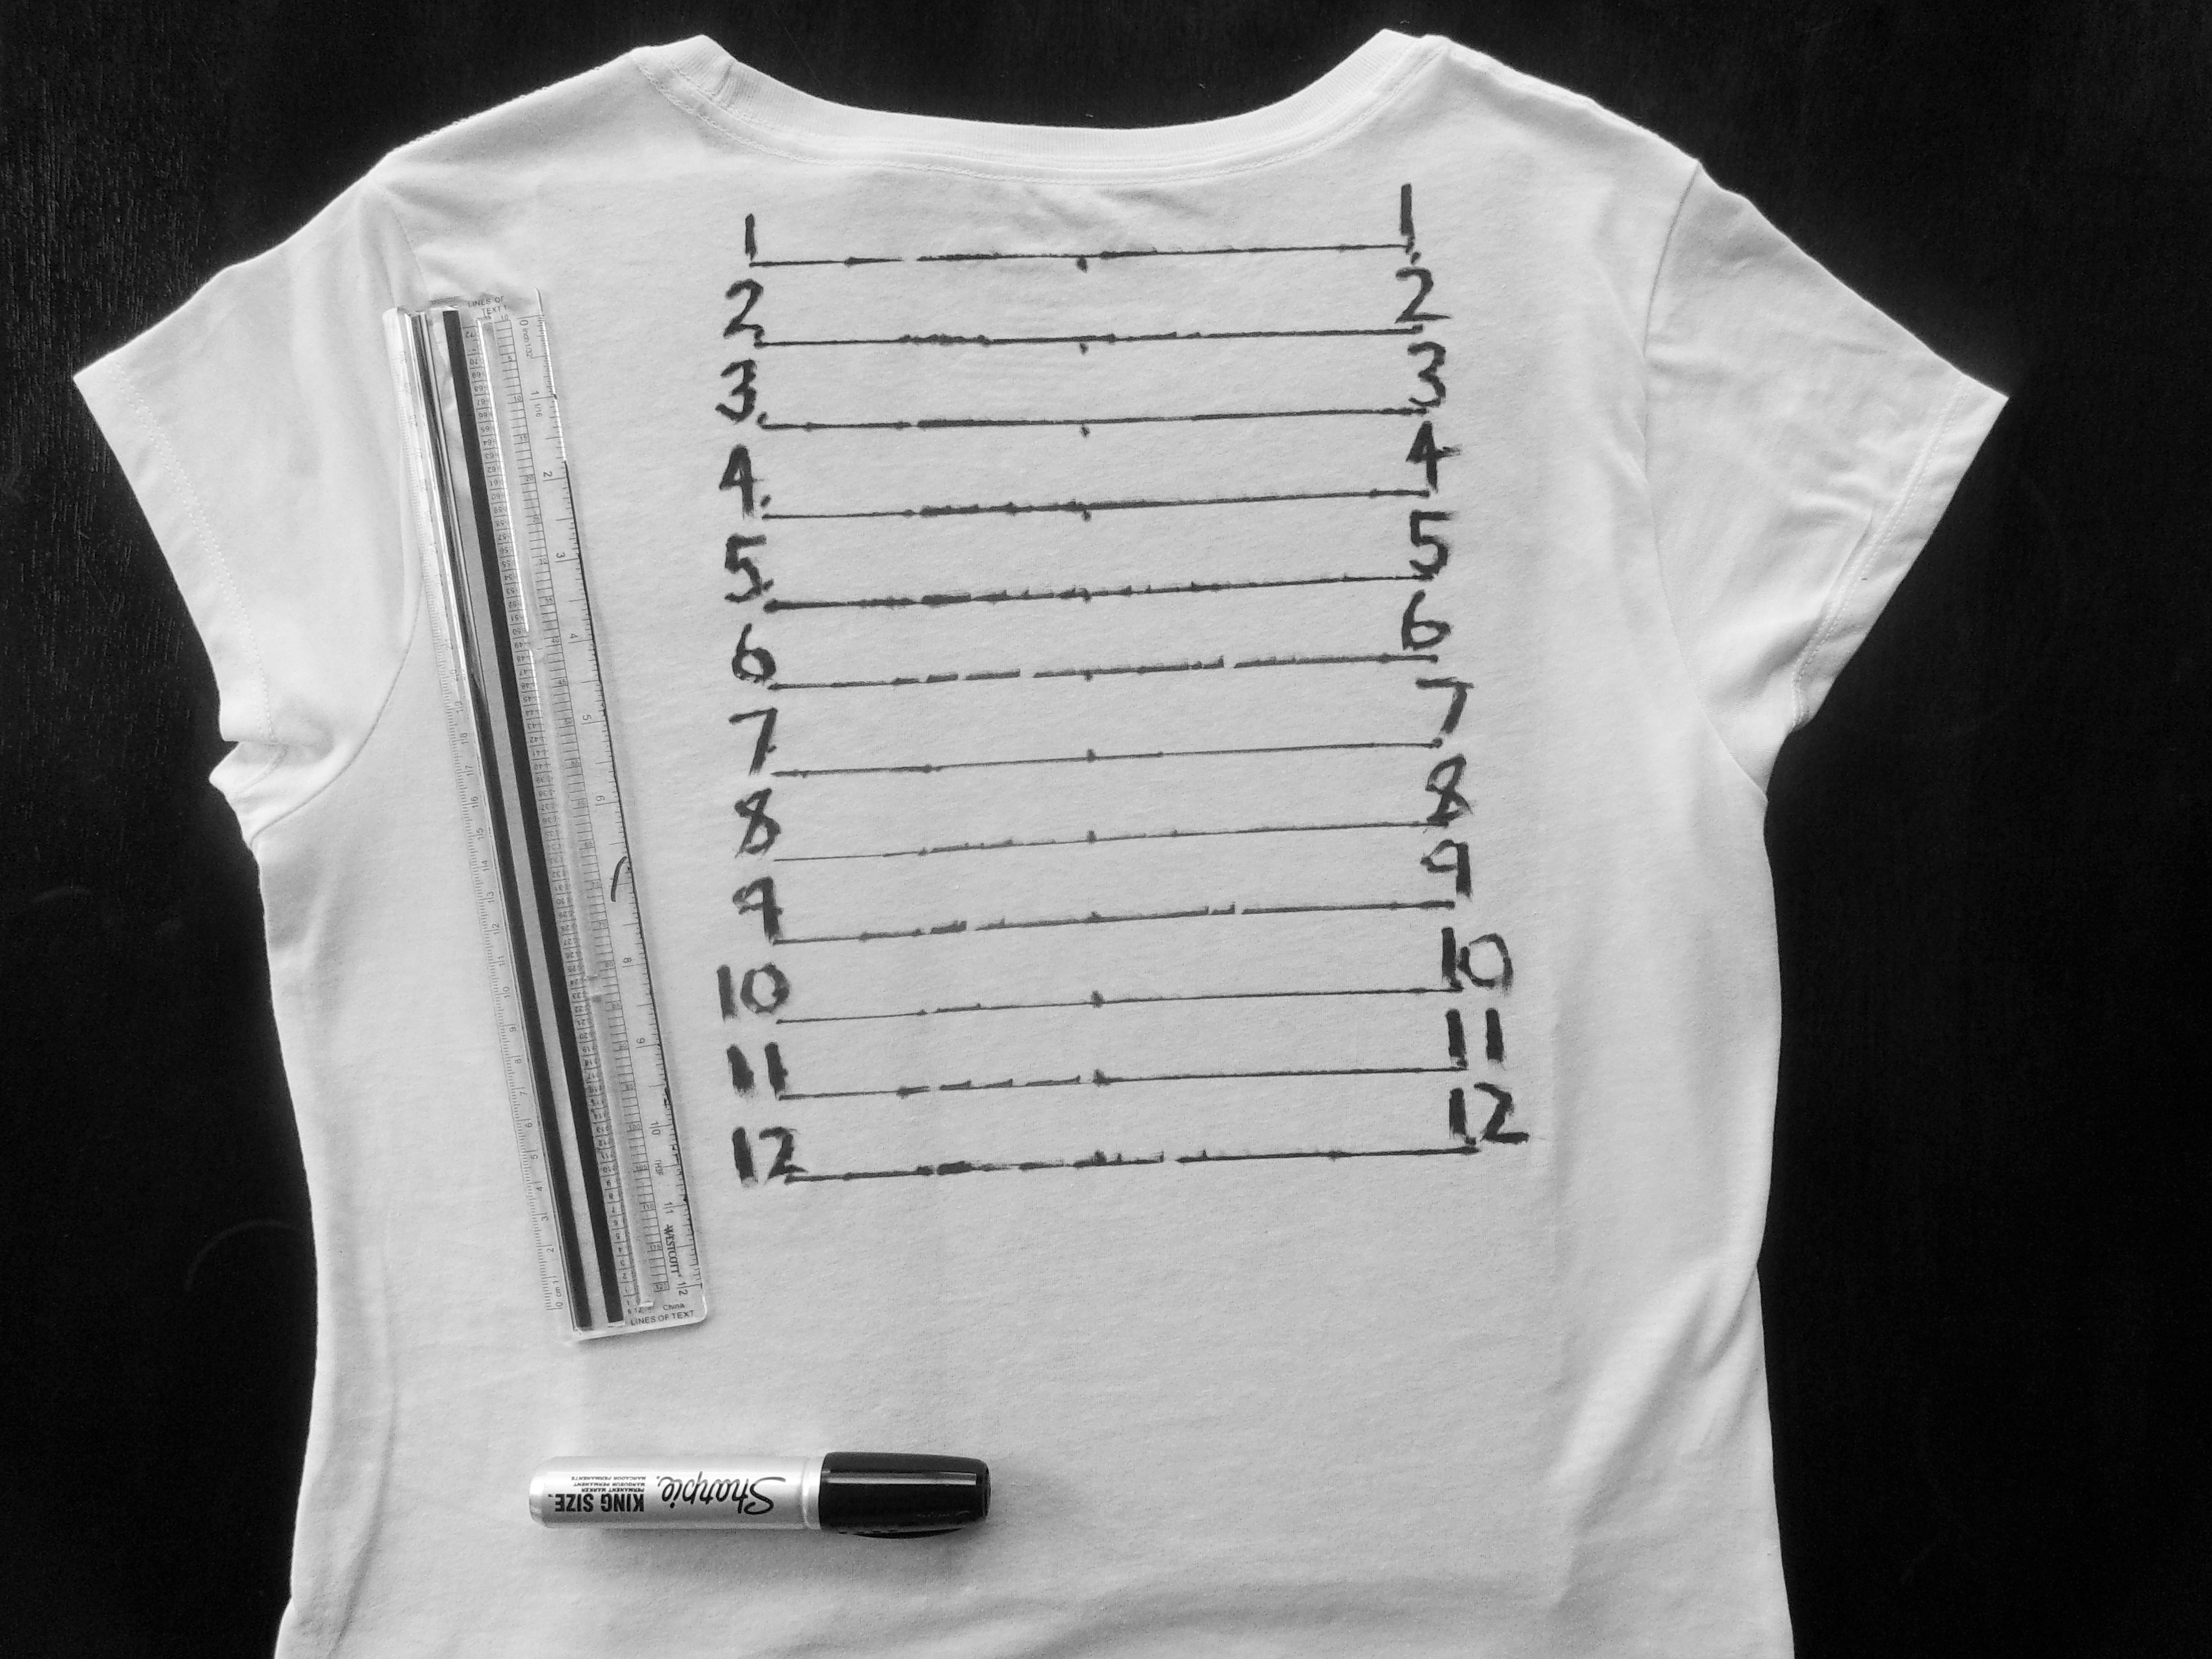
Being on a hair journey, it was very important for me to track my progress and be able to see my hair grow. I was probably going to buy the Hair Length Check shirt but I decided make a d.i.y project out of it! I liked the fact that I didn’t have to spend money for this particular project and it took me under ten minutes!
I used,
- an old T-shirt I bought at Walmart ages ago for $5
- a ruler
- a fabric marker
- a piece of cardboard for extra support ( I cut this from my toddler’s diaper box!)
- a flat surface (such as a table, wide enough for the t-shirt)

I laid my t-shirt, front side down on the table. Make sure to smooth out any wrinkles. For extra support, I placed the piece of cardboard inside the t shirt, along the length of it.
Next, find the middle of the t-shirt and using a ruler and clothes marker, mark a dot at every inch from below the collar of the shirt, down the length of the shirt. I did that for 12 inches. You can go even longer if you want.
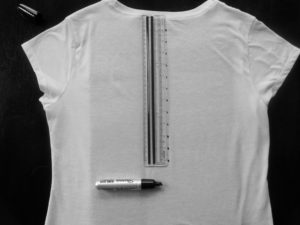
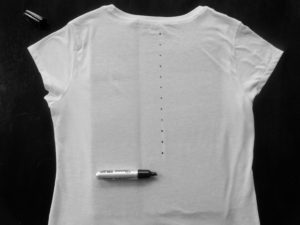
I did the same thing 4 inches to the left and 4 inches to the right of the midpoint. I hope you can be more accurate than I was LOL! But I made it work….. I think.
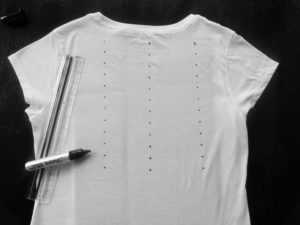
Draw a horizontal line to join the three dots, making sure you get a straight line. I had a tough time doing this step. The shirt kept bunching and instead of making straight lines, I kept getting dashes. I’m sure you can tell from the pictures….
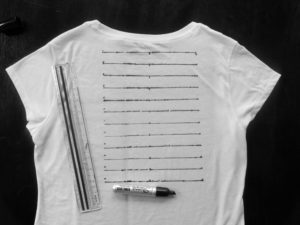
After you’re done joining the dots to make 12 ( or more) horizontal lines across the t shirt, you can breath a sigh of relief, because the worst is over!
Lastly, I numbered each line, on both sides, at every inch measure. Not as neat as I hoped but it will serve the purpose LOL!
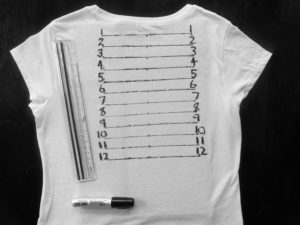
There you are, your very own, self-made length check t-shirt. Happy hair journey!

